Friday, February 10, 2012

Classed-up Simple Beef Tacos!


I can't tell you how many times in college I browned up some hamburger meat, threw some packaged seasoning in it and lopped it on a tortilla with cheese.  I called that a taco back then.  

So instead I'm going to show you how to make some badass legit tacos right?.  Actually no.  Crafting a sweet street taco that will throw a fiesta in your mouth all night long isn't for everyone.  A lot of people just want plain old ground beef tacos.  But anyone can class-up a simple taco by following these easy steps.  


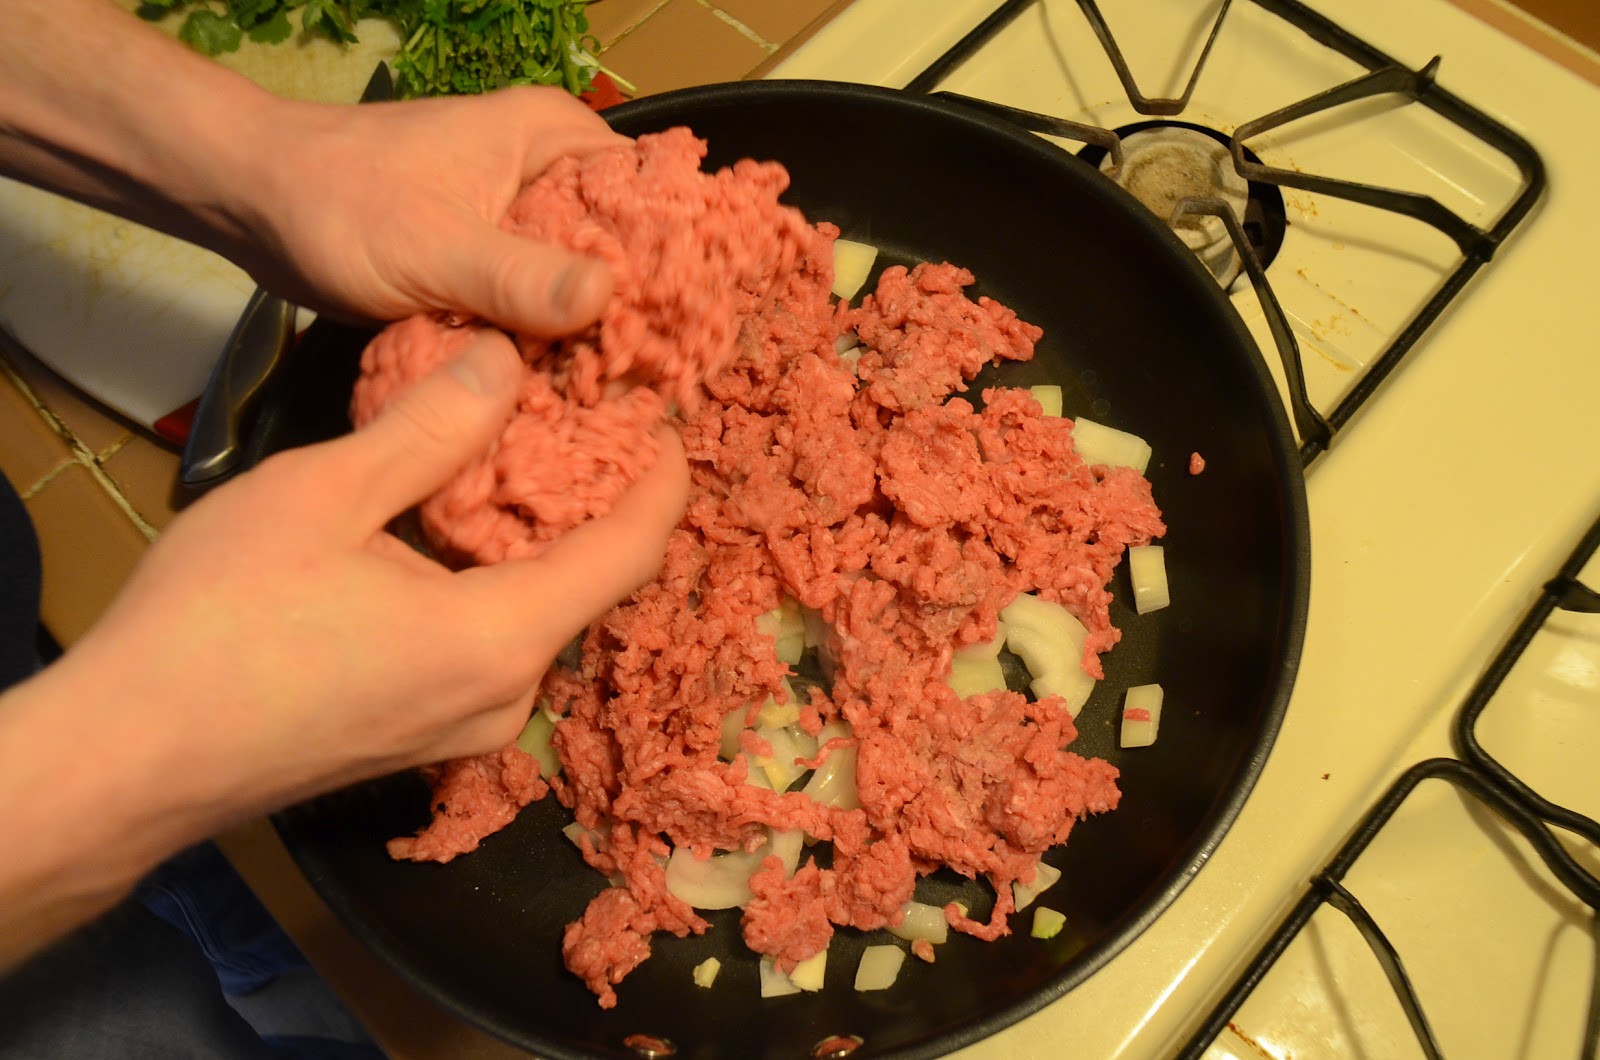
Get yourself some ground beef at the local grocery, preferably 80/20 or leaner.  You'll need a yellow onion and some garlic to throw in with that beef while it's browning.  Grab your favorite taco seasoning mix off the shelf and stick it directly in your pocket.  You're an embarrassment to the cooking community and don't you forget it.  Finally grab a tomato, some cilantro, a lime and an avocado from the produce section.


Chop the onion and garlic and add it to a large frying pan over medium high heat. 


Tear the beef into small pieces and add it to a pan.  Shake a little salt and pepper over the meat and stir occasionally.  


When most of the meat is brown you'll want to drain the excess water and grease into a jar/container to throw in the trash.  Never strain the drain by pouring grease down it!


While your beef is browning, go ahead and chop your cilantro, tomato, lime and avocado.  Try not to be as forgetful as me…I left the avocado in the grocery bag and didn't discover this until I was already done eating.


Put them into little serving bowls if you're going for a Better Homes and Gardens look.  Remember, we're going for class here people!

I like black beans with my Mexican and I had already cooked some earlier in the week.  Cooking dried beans is cheaper and allows you to season however you prefer to…but it takes planning and time.  


You have to soak the beans overnight in the fridge and then simmer them for a few of hours the next day.  These I seasoned with garlic, cumin, paprika, onion powder, salt, pepper, and bacon. 


Or you could just buy them in a can…Hell you're already using a packaged taco mix…

Either way, you'll need to pop them in the microwave for a couple of minutes.

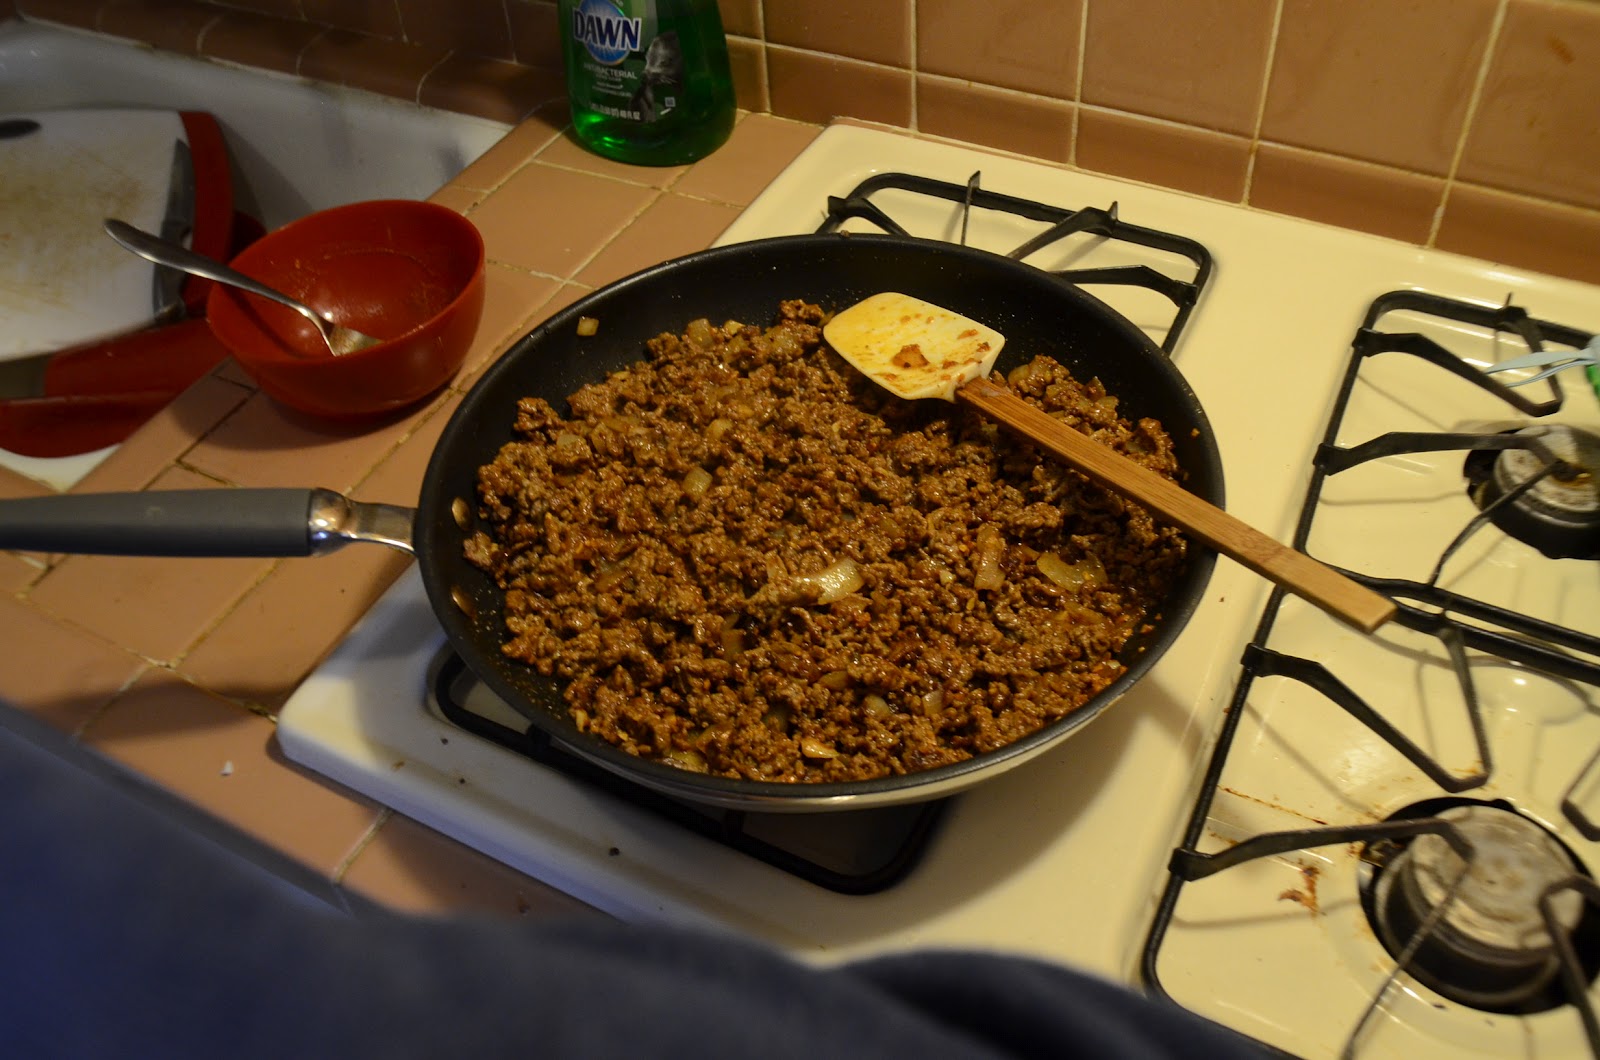
Let the meat get good brown and crispy.  Then mix the taco seasoning according to the directions on the package, and stir into the meat.


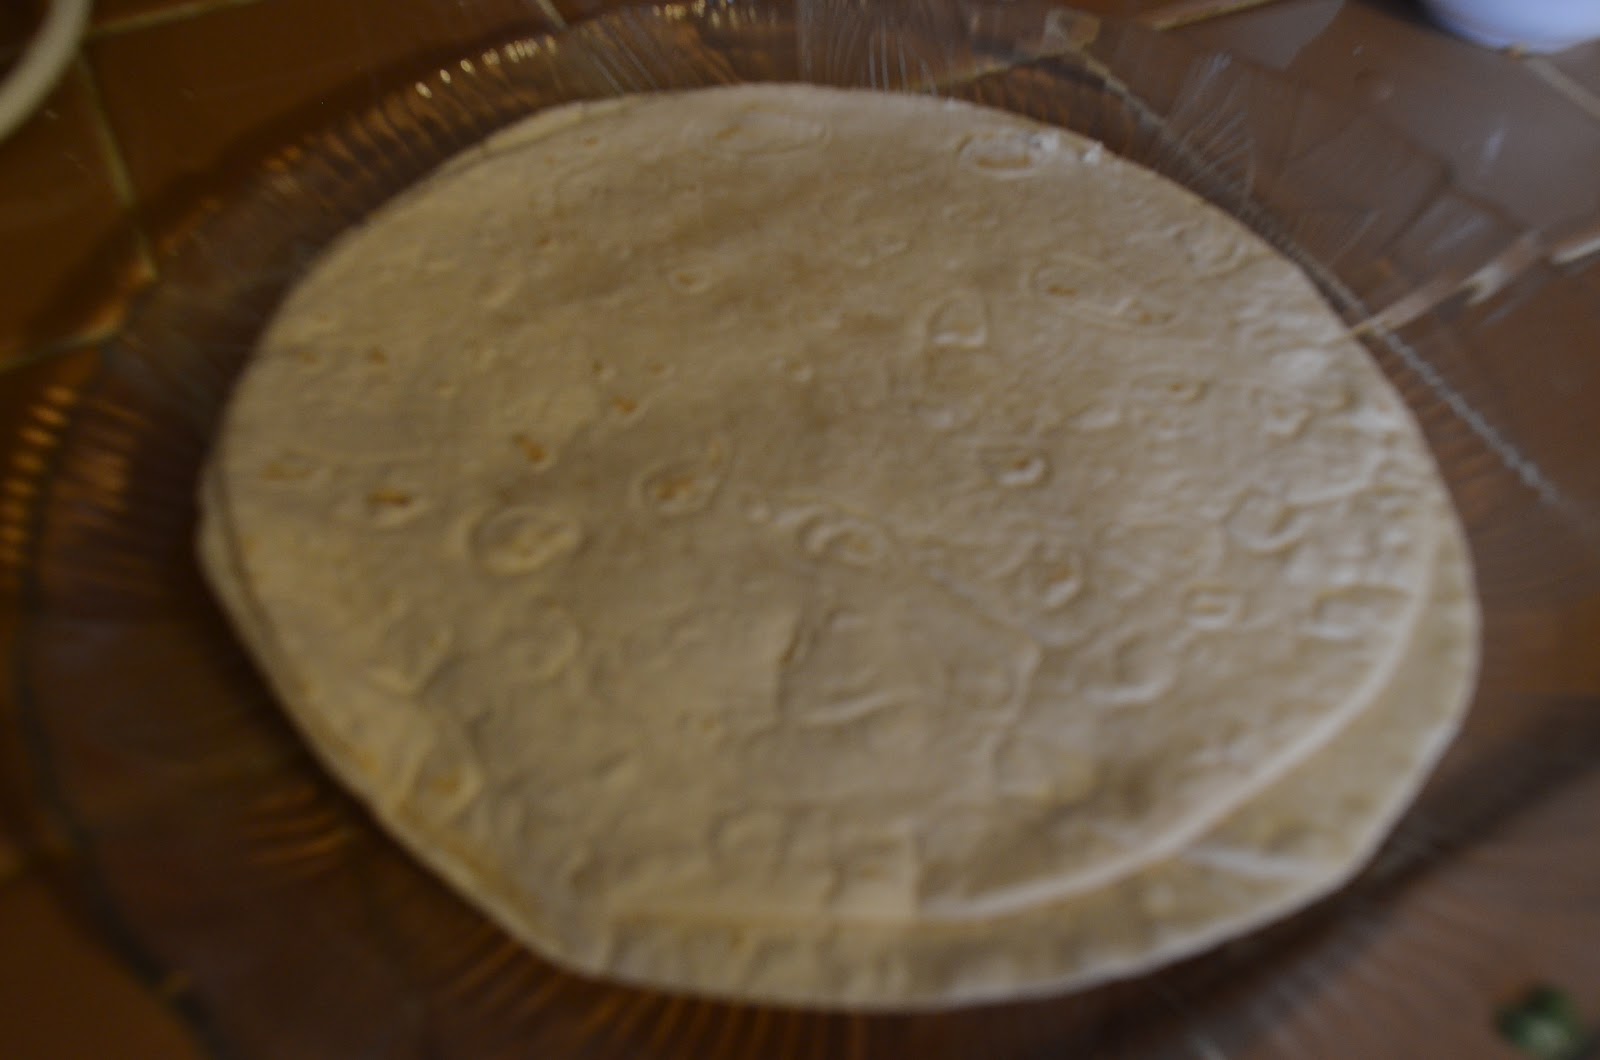
Slap a couple of store bought tortillas on a plate and cover them with a damp paper towel.  Heat in the microwave for 30 seconds to a minute.  


(You could also make your own home-made tortillas by visiting my second blog post and following the directions.)  

Slap some of the beef onto the tortilla with cheese, then top with the chopped tomato, cilantro, avocado and squeeze a lime wedge over it.  You can even add a dollop of salsa if you'd like.


Result:  Some bomb-ass tacos that aren't necessary authentic but look and taste much better than the poor college version that you still might be cooking today. Yay!  

Thanks to Ary Collier for making these one night and delivering me from my super lazy taco ways. 

Wednesday, February 8, 2012

The Sun is not your friend...


So a bit of a serious post today.  Not for the faint of heart.  The pictures below are somewhat graphic...I'm posting this because I think that this is a serious issue that people my age and younger don't often think about.

I am a fair-skinned person but that doesn't mean this should be shrugged off by all of you tanned Adonis' out there.  

I didn't make my first visit to a Dermatologist until I was 25. In the past two years I've had numerous pre-skin cancers frozen off my face with liquid nitrogen, I've applied chemotherapy cream to my face, neck and arms…and as of today I've now had two Basal Cell Carcinoma cancers removed from my face…surgically. 


It's called Mohs Surgery.  A microscopically controlled surgery used to treat common types of skin cancer and minimize subsequent scarring.

They mark off the area that they are believe the cancer is limited to.  They shoot you up with Lidocaine, a local anesthetic to numb the area, and then with Epinephrine which keeps blood from flowing into the area.  This limits bleeding during the surgery.  For those who are allergic to Epinephrine…they can literally expect a blood bath.  

Then they cut.


The Epinephrine causes the skin to bulge and lose color.

When they are finished, the carterize that hole in your head (breathe through your mouth if you don't want to smell burning skin).  Then they slap a bandage on you and send you out into the waiting room for 45 minutes while they analyze the sample. 


If there is no cancer remaining on any edge of the sample, then you can get stitched up.  But if cancer remains on any edge of the sample, they bring you back in and cut again.


Two years ago I had to have three cuts done. It took about three and a half hours. Thankfully today I only needed two.

Then it's time for stitches.  That takes another half hour.  They grab two pieces of your forehead, tug them towards one another, and suture them together. It is a weird and uncomfortable sensation, believe me.   


Then they put a pressurized bandage on you that can't be removed for 48 hours. They tell you not to exert yourself, to stay reclined, take it easy, and keep ice on it.  


This won't happen to everyone, but I'm here to say that the Sun is not your friend. Some of us it hates more than others, but its rays will bake all of our skin into submission over time.  If you've never been to a dermatologist…go to one.  If you don't wear sunscreen…consider lathering up more often.  

Dealing with sun damage can be expensive, cosmetically displeasing, and potentially life threatening.  Don't take anything for granted in this life…especially not your skin suit!

Monday, February 6, 2012

Brian's Bread-less Bruchetta


Here's an impressive appetizer that is pretty healthy and you won't miss the carbs at all.  All you need is a tomato, olives, Feta Cheese, fresh basil leaves, and salt and pepper.  Courtesy of Sir Brian Griffin.


Grab yourself a vine tomato, peel off the sticker and give it a nice shower underneath the waterfall located in your kitchen sink.

Use your impressive knife fighting skills to slice it into quarter inch wheels.  


Sprinkle a little salt over them…if you are super classy like Brian you can use a Sea Salt grinder.


Then take a little crumbled Feta cheese and spread it over your tomato wheels.


Roll up a few leaves of fresh basil into a little doobie, then chop in finely on a cutting board.  


Sprinkle those basil strings over the Feta.


Finally, chopped up some olives from your jar of olives…It will be easier if you use pitted olives…but it might taste more rewarding if you pit the olives yourself.  Or it might just take 30 seconds longer.


Finally, sprinkle a little pepper on top and Voila.  


Brian's Breadless Bruchetta.  Easy, tasty, and super classy looking.  


Enjoy


Saturday, February 4, 2012

Nighttime Motorcyle Raid


This is the story of two dudes on a quest to pick up a motorcycle...and the adventures along the way that made us Men.


I needed a bud with a truck.  What better bud then Chris, with his shining white steed of an F150.

Unfortunately the truck has a toolbox. That mother had to go if we were going to fit a giant hog in the back.  Chris grabbed some tools, fell to his knees and then his back...and Gollum'd his way underneath the bed of the truck.  Between the two of us acting like Men who know Man $#it...we got that toolbox off.    


Next, we took a drive.  A long drive.  


Well actually we stopped pretty quickly at the Taco Delight on the other side of McKinney.  I will never pass up an opportunity for some Taco D nachos and sweet tea.  Thats definitely the Paris, Texas in me.  


But then it was off to a little placed called Mt. Pleasant, Texas.  A chicken-coupe town ruled by the Iron Fist of one Bo Pilgrim.  We snuck under the radar by cover of night so as to avoid a showdown with the Chicken Czar.  


And just like that...there we were. Face to face with the Honda Rebel.  I might have exaggerated its size and badassitude slightly...but hey, its my first hog.    


Now we just needed to get the bike in the back of the truck and drive away.  


And we drove it home just like that.  The motorcycle knew to stay upright.  Its from Japan.  They're just smarter than us.   


Nah not really, it was time for some more manliness.  Ratchets and whatnot.  


Once it was secure...then we drove back home. Incident free.  I guess after reviewing the story and the pictures, it wasn't as exciting of a tale as I remember it being. Just pretend we stole the bike from Bo Pilgrim's prized collection of hogs and barely escaped with our lives.  And then don't ever get close to either one of us...we are hunted men.  Bo knows no mercy.   

Wednesday, February 1, 2012

Baked Curry Chicken with a side of Tandoori Masala...Chicken


Alright folks, this meal will whisk you away to the far East…and is simple to cook, but you'll probably need to hit the grocery store and maybe even an asian market to trade your currency for spices and any other silks or treasures your heart desires.  

Better Homes and Gardens had a pretty simple Baked Curry Chicken recipe that I wanted to try out. I was having a hard time coming up with a good side dish to pair it with....I guess because most Indian dishes have such distinct flavors you can't just serve up some mashed potatoes with them can you?  


Well we all know thats BS.  Mashed potatoes are delicious and go with everything.  Not that I cooked them with this.  

Lets take a quick look at the recipe:


First I went to the local grocery.  I had some of the spices on hand, but if you don't cook a lot then you probably won't.  You'll need to pick up some curry powder, bay leaves, ground cinnamon, chicken bouillon cubes, and minced garlic.  


I was interested to see what Raisins would bring to the dish…its not something I've seen before in Indian food. I opted not to include the dried apricots, seeing as they were 5 bucks a bag and I believed in my heart I could live without it.  

Across the street from Kroger in Denton, there's a little Indian market, so I went shopping for a side dish.  After telling the guy behind the counter what I was making, he recommended a chicken Tandoori Masala dish.  I said look bro, are you the kind of guy that gets french fries and mashed potatoes with his entree at Chilis?  But he was pretty much full on Indian and either didn't understand or just didn't think I was very funny.  


So I bought a boxed spice mixture and some ginger and garlic paste.  I also picked up some frozen Naan bread.


For any of you who haven't eaten much Indian food, in particular Nann…then do yourself a favor.  Stop what you are doing, drive to the nearest Indian restaurant and gorge yourself on these tortillas on steroids. They are the bread of the Gods.

  You're welcome.  


So it was set.  I was going to have Chicken, Chicken, and Naan.  

For the Chicken Tandoori, I used both white and dark meat.  Mix two tablespoons of the Tandoori spice mix with two tablespoons of the garlic/ginger paste.  The box called for curd…I have no idea what that is, so I just poured in a couple of tablespoons of Olive oil. 


Cut slits in the boned pieces of chicken, and slice the two chicken breasts into 1 inch cubes.  Rub the marinade into the chicken with your hands making sure the mixture gets in the grooves and then let it sit for an hour or two.  

For the baked curry chicken, I substituted the brown rice with jasmine rice, and I also cut up some Yukon gold potatoes into one inch cubes to add to the recipe. 


See….Potatoes did make it into this dinner!  Yay!


It's pretty simple from here.  Combine the rice, potatoes, stewed tomatoes, all the spices, a cup of water, a squeeze of lemon juice and some chicken bouillon into the pot.  


Get it boiling, then dump it into some baking pans and into the oven at 350. 

I also boiled up some plain jasmine rice to go with the Tandoori Masala chicken.

Each dish needs to cook for about 45 minutes.  If you used both white and dark meat chicken for the Tandoori Masala dish (below), then put the bone pieces in first, and add the 1 inch white meat cubes about twenty minutes later.


In the last 5 minutes of cooking, wrap the Naan in some aluminum foil, and put it in the oven.  


Plate up…crack a coldie, and get your Indian grub on!