Tuesday, April 2, 2013

Swedish Meatballs


I'd often eat swedish meatball TV dinners as a kid...cause ya know...parents of the year and whatnot.  I'd never made it from scratch before and my roommate was craving balls so here it comes.  


I made a double recipe but heres what you'll need:

For the meatballs
1 lb of mixed ground beef and ground pork
1/2 cup Italian breadcrumbs
1 egg
1 small onion
2 cloves garlic
1/2 cup worcestershire sauce
Salt and pepper
Fresh chopped parsley for garnish

For the sauce
3 cups milk
2 tbsp flour
2 tbsp butter
1 1/2 cups beef broth
Salt and pepper


You'll need a large mixing bowl and a cutting board. Chop the onion into small pieces and mince the garlic cloves.   


Whisk an egg.  I could have done this in the big mixing bowl.  But I love doing dishes.  
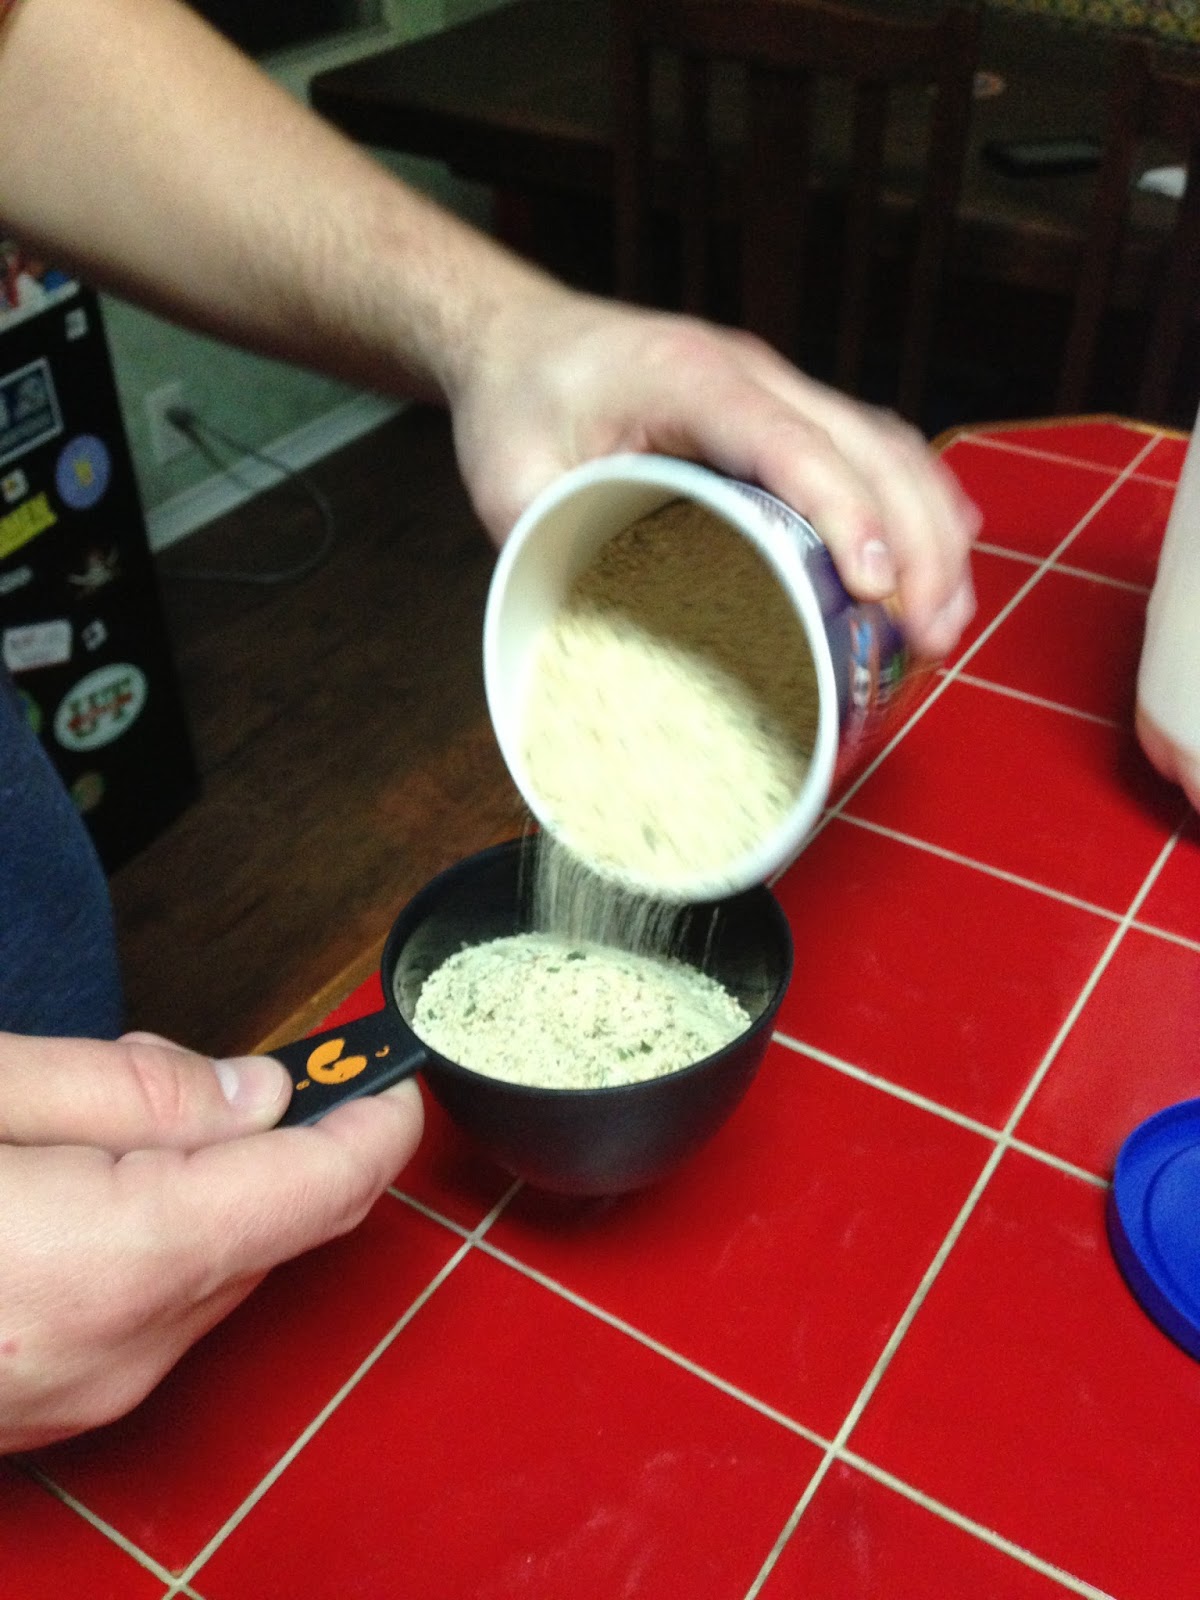

Measure out your breadcrumbs with your sexy sexy hands.  Then pour those, the egg, the onion, garlic, and worcestershire sauce all into the mixing bowl.  


Add in a tablespoon of freshly ground salt and pepper. Buy the grinders in the spice section of your local grocery as opposed to the already ground.  It's worth the difference in price.  


Get your meat and there and let your sous chef go to town.  Tell him to make some sounds like a boot stuck in mud only wetter.  


When you've got a big wad and everything is mixed evenly, you are ready to start pinching off balls.  


Fill up the pan and get them frying on high heat for the first 7-10 minutes.  You want them to brown all the way around.  Turn often and with enthusiasm.  


Put your egg noodles on to boil with a little olive oil and salt in the water.  Lower the heat on your meatballs and cook for another ten minutes turning often.  


Remove the meatballs from the frying pan.  Prepare to make gravy.  


The recipe calls for beef broth...you can either make your own with beef bouillon cubes or buy it in the can.  


If you are using bouillon cubes you'll need to prepare the broth in a separate pan.  


Combine the flour and butter with the grease left in the pan from the meatballs.   


Stir in the milk and broth.  Whisk until smooth.  


Cook on medium-high heat for a few minutes.  Look confident as your stir.  Cooking, like anything else in life, is 10 percent what you say or do, 90 percent how you like while doing it.  Roomie nailed it.  


After the gravy has boiled for a couple of minutes season with additional salt and pepper if necessary.  Add the meatballs back to the pan.  


Let the meatballs sit in the sauce and think about what they did. For about 3-5 minutes on medium heat. 


Take your noodles up, dump on the meatballs and sauce and garnish with finely chopped parsley.  Pound your intestines.  

Monday, March 4, 2013

Crockpot Lasagna

Lasagna can be a pain in the ass.  But not with this recipe.  Its delicious, it will cook all day when you are at work...and when you get home your whole place will smell like your girlfriend after she gets off her shift at the Olive Garden.

This is stupid simple.  I recommend making the meat/sauce mixture the night before and refrigerate it.  

Here's what you need:


1-2 pounds of hamburger meat
1 onion
2 tbls of minced garlic
6 oz tomato paste
1 28oz can of tomato sauce
1 tbls dried oregano
4 cups of mozzarella cheese
12 oz cottage cheese
6 oz of parmesan cheese
1 package of dried lasagna noodles


There isn't a lot of prep.  Chop the onion into small peices.  


Brown yo beef in a skillet with the onion for ten minutes. 


Drain the liquid out and add the garlic and oregano and cook for another 3 minutes. 


Mix all the cheeses together in a big bowl.  


Add the tomato sauce and tomato paste to the meat.  


In the crock pot, make a layer of the noodles.  I had to snap some of them into weird shapes to get them to fit.  Get creative with it.  Get the kids involved  Shit I don't care just make it happen.  


Pour in a layer of the meat sauce on top of the noodles.  


Then a layer of the cheese.  Repeat until you are out of ingredients.  Just make sure that the top layer is cheese...for presentation's sake.  


Put it on low ...  6-8 hour mode.  Go to work.  Come home.  Stuff yer face with this bliss.


Done and done.  


Wednesday, February 6, 2013

Shrimp and Feta Capellini


It's February in Texas...so you know what that means.  Time for a nice light summer pasta!  It's from another blog called Love and Pancakes... I modified it a little and took a few more pictures to illustrate the process.  That blog is solid though you should check it out.


Grab your ingredients.


White Wine Buttered Shrimp with Capellini and Feta
Prep: 5 min. ~ Cook: 15 min. ~ Total: 20 min. ~ Serves: 4

Ingredients:
1 1/2 lbs. cooked, peeled jumbo shrimp
8 oz. angel hair pasta
2 cups white wine or white cooking wine
4 Tbsp. butter
2 Tbsp. green onion
2 tsp. fresh parsley
2 tsp. fresh minced garlic
1 large tomato, diced
1 oz. feta cheese crumbled
Salt and pepper


Dice a large tomato and chop 1 bunch of green onions into small peices.


Get a thin spaghetti, angel hair or capellini pasta boiling in some water and olive oil. Melt the 4 tablespoons of butter in a pan with 2 teaspoons of minced garlic over medium high heat.  Add the 2 cups of white wine and bring to a boil, let the sauce reduce down by half.  


Season the shrimp with salt and pepper and add them to the pan.  Cook for three-five minutes.  Flip them shits.  


Add the green onion, tomato, and parsley.  I also squeezed the juice of half a lemon in there.  Cook for another 3 minutes.


Take up the pasta and mix with the shrimp and sauce.  Toss with Feta...I used about 4 oz instead of 1oz.  Cause I'm a fatty mcfatstuff.    

Enjoy!


Friday, January 4, 2013

Rib Roast and Rolls FTW


If your family runs out the same tired holiday trash every year...turkey and dressing...ham and mashed potatoes....cocaine and waffles...and you are sick of that crap...well this post is for you.

A rib roast is the perfect holiday change up and it's sure as shitzle to please.  Throw in some homemade rolls and you'll be erupting at your dinner table.  With mouth joy.  That is the overflowing joy inside your mouth.

The rib roast is super simple.  Buy one fresh at your local grocery when they go on sale, generally for about $5.99 a pound.  Should run you in between $35 and $45 for one that can feed a family of 4-5.  
( Yeah there's two of them.  We're fatties )

Set it out on the counter a few hours prior to cooking so that it reaches room temperature. Preheat the oven to 450 degrees.  Then slap on a healthy dose of sea salt and course ground black pepper. 

( That's just the salt. Add the pepper too. I was a few beers in at this point )

Put a sheet of aluminum foil down on a baking pan and set the roast on top.  This will capture the meat drippings and you can make au jois if you like.  Put it in the oven at 450 degrees for about 25 minutes and then reduce the heat to 325 degrees. For a mix of medium rare to medium well throughout the roast, you are looking for a center temperature of around 140 degrees, which should be reached after another hour and a half of cooking after reducing the temperature.  If you like your meat more "done" then you should cook an additional 15-20 minutes. Let it sit for 10 minutes once it's out of the oven before slicing.  


Your first slice should be along the bones to remove them. 


Rub some horseradish on that bastard and get to eating.  If straight horseradish is too strong, cut it with some sour cream.


The sweet yeast rolls are a little more effort...but they are so good you could skip the rib roast and eat these shits by themselves. They do take a lot of prep, a lot of waiting and a lot of "working"  but they are so worth it.  I wouldn't recommend trying them for the first time while making a holiday meal...practice first.

Here is the recipe. It's Paul Prudhomme's.  And thanks to the Moms for being my hand model.  And doing all the work.

Ingredients: 

About 7 cups all-purpose flour, in all
6 Tbsp sugar, in all
1-1/4 tsp salt
2-1/2 packages dry rapid rise yeast 
2-1/4 cups hot water (105-115 deg F)
1/4 cup vegetable oil
1 Tbsp unsalted butter, melted


I took a lot of pictures because this really is a big undertaking for someone with absolutely no experience in the matters of bread making...maybe the additional visuals will give you the confidence to give it a shot.  Or maybe you'll just untwist your loaf of Wonder, bite into it, and sob softly to yourself as it sticks to the roof of your mouth.  

In a large bowl, mix 6 cups of the flour, 5 tbsp of the sugar and the salt. 


In a separate bowl, combine the yeast and the remaining 1 tbsp of the sugar with the hot water. 


Let sit 5-10 minutes,  stir until yeast granules thoroughly dissolve. 


Add the oil to the liquid mixture.


Add half of liquid mixture to flour and mix with your hands to moisten the flour as much as possible. 


Add the remainder of liquid mixture to dough and mix until the flour is thoroughly incorporated.


Turn onto a lightly floured surface and knead by hand until smooth and elastic to the touch, about 10 minutes.  


Gradually add 1/2 to 1 cup of additional flour (add only enough to keep dough from sticking). 


Place in a large greased bowl and then invert dough so top is greased; cover with a dry towel and let stand in a warm place (90-100 deg F) until doubled in size, about 1 hour. 


During the summer you can place it near a window...during winter you should probably preheat the oven to two hundred, turn off the oven, wait a few minutes, then put the bowl in the oven and close the door.  


Grease a large baking pan or casserole dish with veg oil.  


Punch down dough. 


Form rolls by pinching off small portions of the dough and rolling them into small balls a little larger than a golf ball.  


Don't roll the dough between your palms, rather fold the ball over itself three to four times then dip it into the pan face down to grease that side, then bottom down in rows.  


Once you've made all of the rolls, cover and let rise for another 35 minutes or so until they have doubled in size again. Then bake at 325 until lightly browned 35-45 minutes. Brush tops with melted butter 5-10 minutes before done and return to oven. 


I'm a terrible blogger and got too drunk to photograph the last couple of steps.  But you can get an idea of what it was like from the plate I subsequently demolished. Trust me...worth ever bit of the effort!


Enjoy!